Most Office 365 applications can be managed using PowerShell. PowerShell commands (cmdlets) can be combined to create scripts that perform complex administrative tasks. Managing SharePoint Online using PowerShell makes it easy to add, modify and remove user accounts and their permissions, as well as configure SharePoint site settings, such as sharing and access settings. To automate repetitive tasks in SharePoint, administrators can use the SharePoint Online Management Shell.
In this article, we will review how to install and connect the SharePoint Online Management Shell to SharePoint Online. You’ll also find the useful PowerShell commands for SharePoint online.
Before you can use the SharePoint Online Management Shell, you need to download it from the Microsoft website and install it. The SharePoint Online Management Shell is a Windows PowerShell module that lets you run command-line operations and efficiently perform batch operations.
Before getting started, check whether the SharePoint Online Management Shell is already installed by running the following command in administrative mode in PowerShell:
Get-Module -Name Microsoft.Online.SharePoint.PowerShell -ListAvailable | Select Name,Version
If your operating system is using PowerShell 5 or newer, you can install the SharePoint Online Management Shell by running the following command in administrative mode:
Install-Module -Name Microsoft.Online.SharePoint.PowerShell
If you’re running Windows 8.1 or Windows 10 on your management workstation, that’s all you need. But if you’re still running Windows 7, you must also download and install the Windows Management Framework version 3.0 or later.
Before you connect, make sure you have:
- An account with global administrator permissions
- The URL of your SharePoint Online Admin center
To connect to SharePoint Online, run the SharePoint Online Management Shell and open a session to the admin site in your tenant using the following command:
Connect-SPOService -URL https://yourtenant-admin.sharepoint.com
You’ll be prompted for your tenant administrator credentials, and then your session will be loaded, like this example:
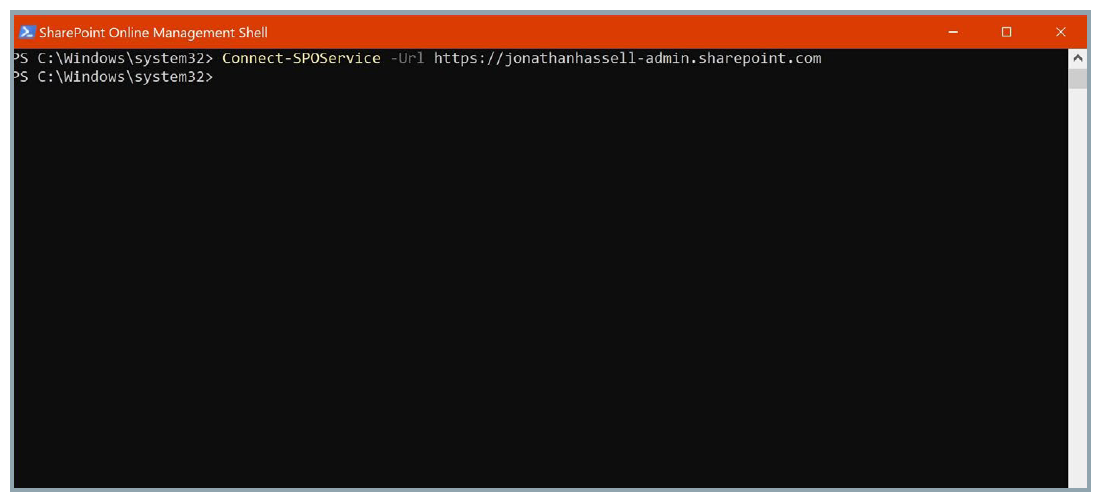
Figure: Loading a new SharePoint Online Management Shell session
Connecting with a Username and Password
To connect using a user name and password, run the following PowerShell script:
$admin="Admin@enterprise.onmicrosoft.com"$orgname="enterprise"$userCred = Get-Credential -UserName $admin -Message "Type the password."Connect-SPOService -Url https://$orgname-admin.sharepoint.com -Credential $userCred
Connecting Using an Account that Has MFA Enabled
If your account is subject to multifactor authentication (MFA), you will need to remove the -Credential parameter and its value from the Connect-SPOService cmdlet, as shown below, and then enter your credentials on the web login page.
$orgname="enterprise"Connect-SPOService -Url https://$orgname-admin.sharepoint.com
Microsoft explains how to troubleshoot issues with connecting using MFA in the article “Cannot force Modern Authentication when using Connect-SPOService cmdlet in SharePoint Online Management Shell.”
Windows PowerShell includes more than one hundred cmdlets for performing day-to-day administrative tasks. With a solid knowledge of PowerShell scripting, you will spend less time on administrative functions, without having to purchase and implement third-party tools.
Here are some of the most useful SharePoint cmdlets:
1. To get a list of all available SharePoint Online cmdlets, run the Get-Command cmdlet:
Get-Command -Module "Microsoft.Online.SharePoint.PowerShell"
2. To list the settings for a particular tenant, including quota status and sharing capabilities, use the following command after connecting to your SharePoint Online:
Get-SPOTenant
3. To create a new SharePoint Online site collection using PowerShell, use the New-SPOSite command, specifying a web address for the SharePoint site, the user who will own the site and the storage quota in gigabytes:
New-SPOSite -Url https://yourtenant.sharepoint.com/Sites/newsitename -Owner you@yourtenant.com -StorageQuota 100 -Title "New Site"
4. The Test-SPOSite cmdlet runs all the site collection health checks on the specified site collection.
Test-SPOSite https://enterprise.sharepoint.com/sites/hr
5. To see what groups are available on a site, use this command:
Get-SPOSiteGroup https://yourtenant.sharepoint.com/sites/yoursitename
6. You can add a user to a site, but when you do, you need to add the user to one of the existing site groups at the same time:
Add-SPOUser https://yourtenant.sharepoint.com/sites/yoursitename –Loginname you@yourtenant.com -Group Visitors
7. You will likely want to periodically review the current state of sharing on your tenant. The following script will spit out sharing status along with who has received invitations outside your organization for each site in your tenant:
$SitesToAudit = Get-SPOSite | Where-Object {$_.SharingCapability –ne “Disabled”}ForEach-Object ($Site in $SitesToAudit){Write-Host $Site.URL “ has “ $Site.SharingCapability “ configured”Get-SPOExternalUser –SiteUrl $Site.URL | Select DisplayName, Email, InvitedBy, WhenCreated | Format-Table –AutoSize}
PowerShell can help you manage SharePoint more efficiently, but remember that it’s also critical to be aware of every change that happens in your environment. If there’s an inappropriate change to the farm configuration or if mission-critical content is deleted, you need to know about it. With Netwrix Auditor for SharePoint, you can track changes to SharePoint documents and lists, configuration, permissions, and more.
- Monitoring changes — Netwrix Auditor provides detailed information about every change across your SharePoint environment: which user made each change, when and where it happened, and exactly what was changed, with the before and after values. By tracking all changes in SharePoint, you can spot modifications to farm configuration settings, groups, permissions and user content that could result in a data breach or bring down your SharePoint services.
- Monitoring data access events — If you don’t regularly audit who accesses which documents and lists in your SharePoint Online, someone might read a file that they are not supposed to see and you won’t know about the violation. Netwrix Auditor helps to regularly review data access events, such as access to sites or libraries containing sensitive data, so you can reduce the risk of missing improper activity.
- Monitoring permissions — SharePoint’s complex system of access permissions makes it a challenge to ensure that your critical documents are secure. Netwrix Auditor enables you to quickly find out exactly how permissions were granted and identify broken inheritance across your SharePoint Online. You’ll be able to clearly see the effective user permissions for all objects in your site collections, how those permissions were granted and whether inheritance is broken.