Office 365 includes a powerful security feature, Office 365 Message Encryption (OME), that enables organizations to securely send sensitive information across an otherwise relatively insecure infrastructure — mail servers. OME combines email encryption with rights management capabilities powered by Azure Information Protection.
The E3 and E5 plans of the Office 365 and Microsoft 365 suites are automatically licensed for encryption. To use it with a lower plan, you must add the Azure Information Protection add-on license for each user who needs encryption. If your Office 365 tenant was created after February 2018, the message encryption capabilities are automatically present and turned on. If your tenant was created prior to that date, Microsoft is slowly but surely rolling out the capabilities and enabling them for you; they began this process in August 2018, so it should not be long before your older tenant gets access. OME works with Office 365 mailboxes as well as with on-premises mailboxes that use Exchange Online Protection.
Emails are encrypted using a rights management template. You can use one of the default templates or create your own through the Azure portal.
Sending an Encrypted Message
Users can encrypt any message they send. The procedure depends on which mail client they are using.
To send an encrypted email using the Outlook client, from the message window, go to the Options tab, click Permission, and choose “Encrypt” from the list of protection options.
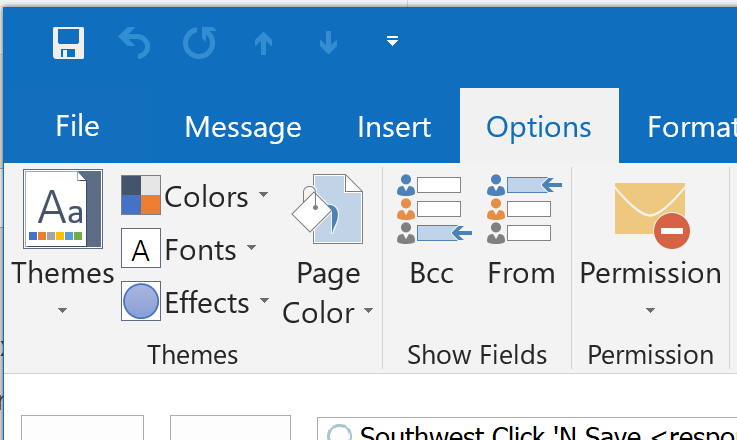
Figure 1-1. Encrypting a message in Outlook 2016
In Outlook on the Web, in a new message window, click Protect in the menu bar, and then click Change permissions. In the window that pop ups, choose the “Encrypt” protection option:

Figure 1-2. Encrypting a message in Outlook for the Web
Reading and Responding to Encrypted Messages
When a user sends an encrypted message to an outside recipient, the service will keep a copy of it on its own servers and send a message that looks like this:
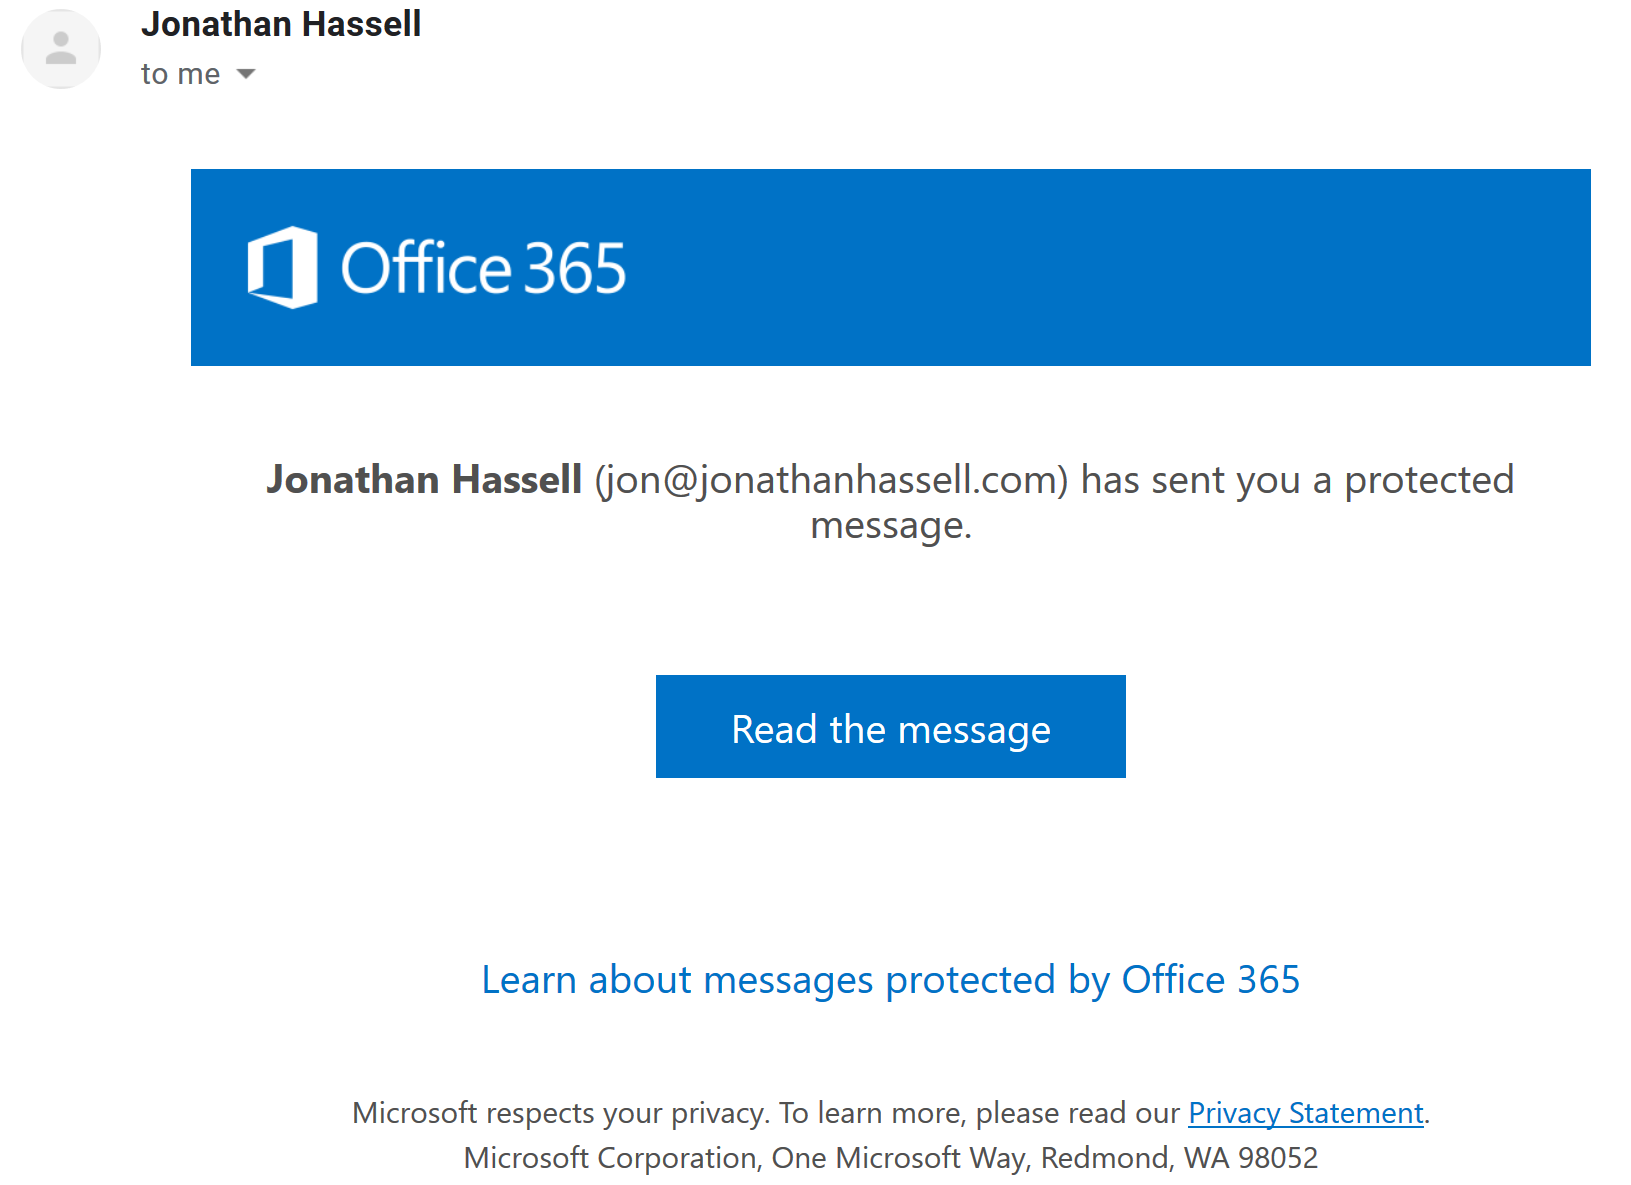
Figure 1-3. Receiving an encrypted message sent outside the Office 365 tenant
When the outside user clicks the “Read the message” button, they can either sign in with an existing social account that uses the same email address as the message was sent to, or they can choose to have the service send a one-time passcode to that email address. When either of those conditions is satisfied, the service will display the protected message in the web browser window connected to a page on the Office 365 Message Encryption portal. The recipient can also reply securely to the original sender.
Managing Encryption through PowerShell
To verify that your tenant is set up for encryption, use the following command, making sure the Sender value is a valid account in your tenant:
Test-IRMConfiguration -Sender someaccount@yourtenant.com
If you see “OVERALL RESULT: PASS” then you are ready to go.
You can set up a rule so that when a recipient replies to a protected message, that the internal user doesn’t need to sign in to the encrypted message portal to view the reply. (Since the reply stays on the Microsoft servers, there is no risk of intercepting the message contents in SMTP transit.) Use the following command to set up this rule:
New-TransportRule - Name "Strip encryption from inbound e-mail" -SentToScope "InOrganization" -RemoveOME $true
Now that you’ve learned how to configure and manage message encryption, check out my blog post on creating and managing Office 365 groups.